Hi guys, I thought I would turn this project into a bit of a tutorial.
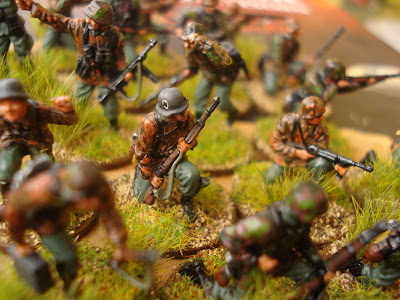
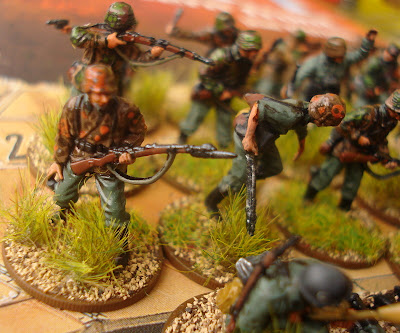
Historical note - when I make static display models, I will do a fair bit of research to create at least a reasonably accurate model, however this is a wargaming project, all I'm after is a good looking cohesive force that is usable in mid to late war scenarios, so there are bound to be inaccuracies, but I can live with that, this force is based on Das Reich at Kursk, but will be kited out to be able to be used mid and late war, so I will keep everything generic, the only thing that will really tie them to Kursk will be the unit emblem (which will be used sparingly so I can use the same vehicles for other German units, I plan on making Herr LW and FJ forces as well).
Spray paint - I prefer Humbrol enamels for spray painting, they are easier to spray and clean then acrylics in my opinion, I started by giving all the models an undercoat of black, once touch dried, I did the base coat with Humbrol Ochre 83, I did this by spraying the colour onto the middle of the panels first and working my way out, this way less paint is applied to creases and edges, the effect is subtle on these models but can be as obvious as you want, it creates shading and improves the overall look, I used the same colours but differant patterns for each vehicle type, for ease but also adding variation, the green is Humbrol 117 US light green, the brown a 50% mixture of 100 rec brown and 186 brown, these aren't official colours, just close enough colours I have in my collection.
Decals - all the decals are from my spares box, I used generic numbering and placed crosses in an appropriate place, I had to cut them up a bit to go on the uneven surface of the kit, once applied I coated them with a Matt varnish to help the adhere to the kit.
Filter - I won't go into to much detail there is a very good tutorial at this link
Basically it is a 5% paint 95% thinner solution (I used Vallejo Red Leather 70818, but you can use almost any colours to get different effects), that is painted on thinly, not slopped on like a wash (its not designed as a wash), but to change the colour of the paint very subtly, in the following pics the model on the right has the filter, left unfiltered, its hard to tell from the pics but the effect is brilliant and well worth the effort, the first pic is probably the best, the top Pz IV has a redder tone, the filter ties the base and camo colours together. For best effect, its important to not add too much paint to the solution, or slop too much solution onto the model, Tip : apply the filter to a patch on the bottom of the model first to test the effect, I will only add the 1 reddish filter, I'm happy with the effect.
Next post will cover the oil paint pin wash.